
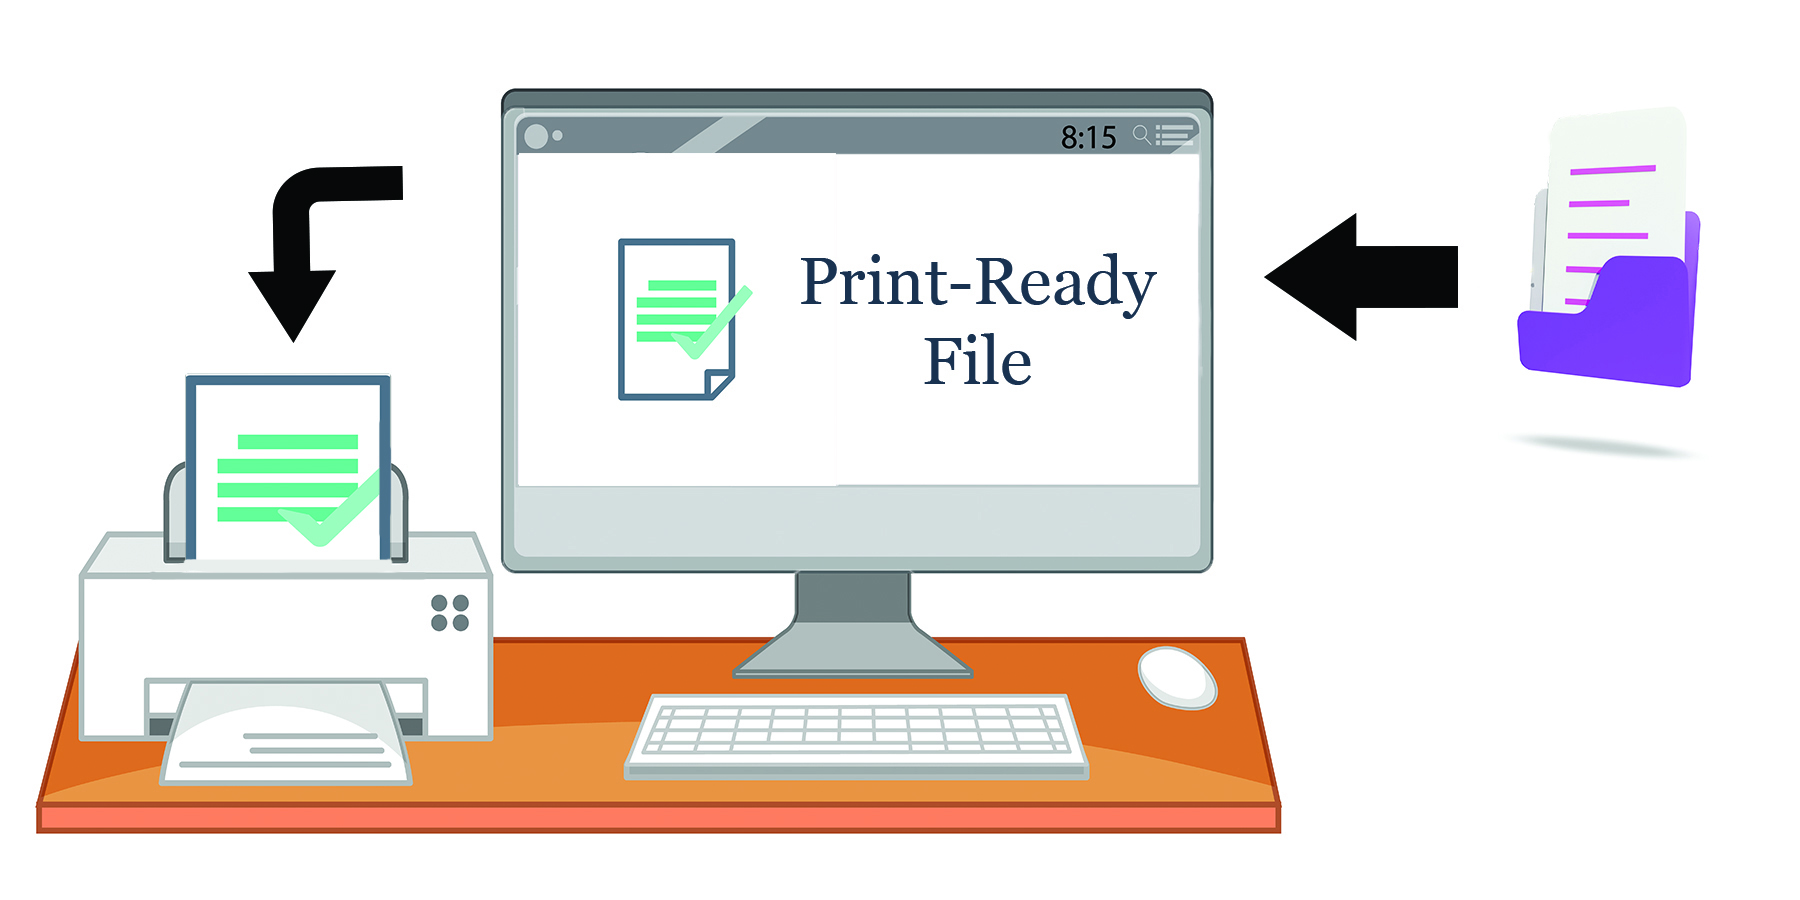
Print-Ready Files
Please note that adult content, copyrighted material, discriminatory material, FDA material, or money will not be printed. All files are subject to approval. We reserve the right to refuse service without giving any reason for offensive content.
File Formats & Size
Accepts the following file types: TIF, TIFF, EPS, AI, PSD, BMP, GIF, JPG, PNG, PDF. Unless otherwise specified, print files must be in CMYK mode. Check the File Settings section for each product for the required color modes. When sending an AI file, make sure the image is properly embedded or linked in the file.
Please check the image size before uploading the file. In Photoshop, click Image> Image Size and adjust the proportions of the images appropriately. Maximum file size for upload: 75000 KB (kilobytes) or 75 MB (megabytes) per file. Recommendation: To reduce the file size, upload in .jpg format. For all other file formats, make sure all layers are flattened.
Resolution
Make sure all elements are set to 300 to 350 dpi. Images taken from the web tend to be low-resolution, which can result in blurry or pixelated prints.
You can get high quality images from the following locations:
·High resolution stock photos
·High quality scanned image
·High quality digital camera with 2.4 megapixels or more
Be careful not to take pictures from the internet as most of the pictures you can find on the internet are copyrighted and these pictures are not in high resolution. The screen resolution is much lower than the printer resolution. Just because an image looks sharp on the screen does not mean that it will print well.
When purchasing images from royalty-free websites, be sure to select high-resolution 350dpi images. The original file should be created with a resolution of 350dpi. Creating a file in low resolution and manually changing it to high resolution does not change the image quality. The only difference is that the file is rescaled, changing the density of the pixels or dots, not the number of dots or pixels in the file.When you take a picture from a digital camera, it must be set at a high resolution in order to result in 350 dpi. We recommend you do this because you can not change the resolution of a picture after it has been taken. Whenever you change the dimensions of an image or picture, the resolution changes also. The more you reduce the dimensions of a picture, the higher its resolution becomes. For this reason, we ask that you make sure that you save the picture at 350 dpi.
Fonts
Embedding a font means that the font information is stored in a file so that the font does not look different when opened on another computer. If the font is not embedded, you can replace the document with another font. To avoid these variations, embed all fonts in the PDF file. Please follow the steps below before submitting the file:
·Fonts should be embedded in the PDF file. (Some fonts are subject to copyright restrictions and are not embedded in PDF files.)
·Embed all images and outline text in an Illustrator file. D. Quark Express: All files you submit must include fonts and images. (Mac only)
·Smooth all layers when working in Photoshop.
Make sure the file is flattened and the font is outlined. If the font is not outlined, it may be substituted for another font in the document.
To avoid these variations, outline all fonts or save the file in JPG or TIF / TIFF file format. If you use vector-based software such as Illustrator to create the file, perform the following steps to sketch the font.
1. Select "Type"
2. Select Create Outline
If you're trying to sketch a font in Photoshop, just flatten the image.
Typography
Serif and sans serif are commonly used fonts for body text. Lines are small lines of the main strokes of letters and numbers. The structure of the lines is considered less rigorous for reading large amounts of text. Therefore, newspapers and books often use this font. Fonts without serifs are called sans serifs (the word "sans" means "none" in French). Sans-serif fonts are widely used in electronic media. Sans-serif fonts are easier to read and understand than serif fonts because computer screens have a lower resolution than printed matter.Decorative fonts are popular in works of art and are an integral part of good design. These are intended for decorative purposes such as headings and titles and are usually not suitable for text.
Colors & Color Mode
We require that you provide us with print-ready digital files in CMYK. Provide all black and white artwork in grayscale color mode. We do not accept any other color mode. It is imperative that you convert your files to CMYK, since this is the only color mode that we accept for printing. Any other color mode will not produce optimal printing results. RGB color mode may look sharp on your computer screen, however, it will not print as it appears. Convert RGB files into CMYK in Photoshop by simply clicking on Image > Mode > CMYK. Grayscale color option, also known as black and white color mode, is composed of two colors: black and white. It is used to reproduce an image with different shades of grey.
A computer monitor represents only one form of black. In print, there are several ways to represent black, including "rich black". Rich black is a darker, deeper black that combines a percentage of all the four CMYK inks. The values to create rich black for coated stocks are: C = 30, M = 30, Y = 30, and K = 100. The values to create rich black for uncoated stocks are: C = 20, M = 20, Y = 20, and K = 100. For gray densities, we recommend that the file have the following color values: C=10, M=10, Y=10. For the K value, anything under 100 would be considered a gray.
Guidelines
It is helpful to use guidelines in your artwork for print-ready files. Guidelines such as the safe zone, the trimming zone, and the bleed help designate where your product will be trimmed, as well as help you keep important elements such as text and graphics away from the trimming margin. Please provide us with a bleed all around your artwork, and make sure to keep all critical elements such as text and graphics within the Safe Zone.
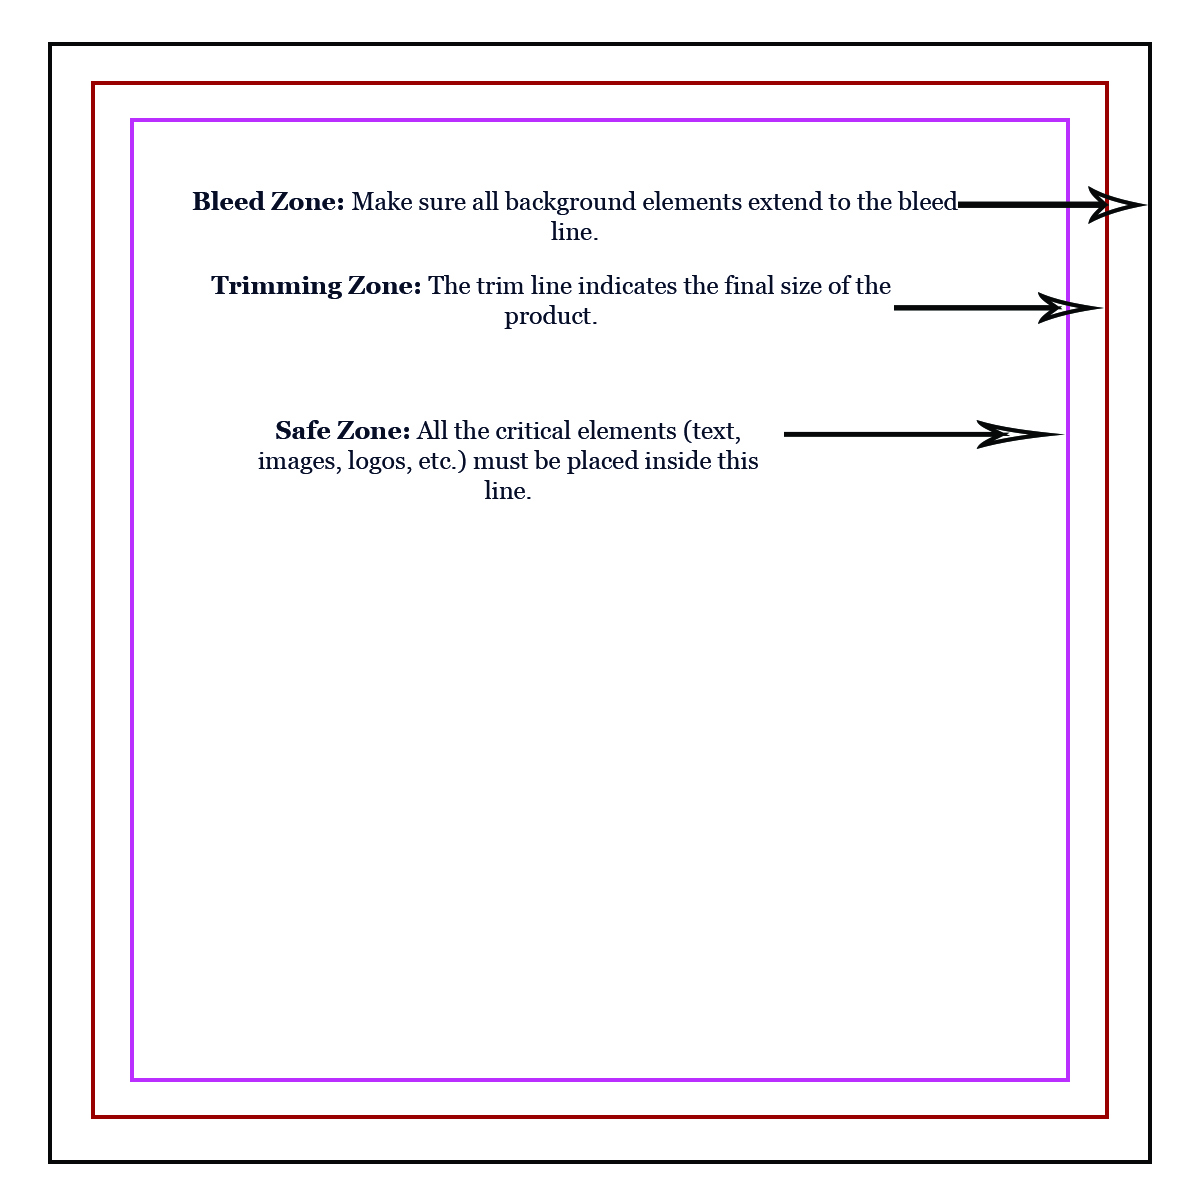
Safe zone
The Safe Zone is the area where all the critical elements (text, images, logos, etc.) must be placed, so that they are not trimmed off when the product is trimmed to the final size. Please make sure to remain within the Safe Zone, as elements on the Safe Zone line may be cut off during trimming.
Trimming Zone
The Trimming Zone, or the trim line, is where the product will be trimmed to its final size. The trim line indicates the final size of the product. Please keep in mind that variations may occur during the trimming process, and we cannot guarantee that your product will be trimmed perfectly along the trim line.
Note: Borders are not recommended due to cutting shifts. If your product is not trimmed exactly on the trimming line, borders may appear uneven. Especially for small products such as business cards, even half a millimeter of cutting shift may cause the borders to look uneven.
Bleeds
the bleed is the extra margin on a print product that is meant to be trimmed off when the product is trimmed to its final size. Bleed basically means that the color and graphics on a product "bleed off the page" to ensure continuity of the color to the edge of your product. Make sure all background elements extend to the bleed line. When we print products such as business cards and postcards, we do not print on paper of that size. We organize several print jobs next to one another on a large sheet of paper, print, and then trim each individual product to its final size. Jobs cannot be trimmed perfectly on the trimming line each time. During the trimming process, a product may be trimmed within or beyond the trimming line. As a result, the product may have a white edge, or a portion of the artwork from the surrounding jobs. Thus, we require a bleed on each individual product so that when the product is trimmed, there is an extra margin to prevent imperfections. A full bleed is required for all print-ready files. For the correct bleed for your product, please view the list below:
- Most business cards have a 0.1" bleed, so a 2" x 3.5" business card without round corners will have a bleed size of 2.1" x 3.6".
- 0.1" bleed: most business cards, collectors cards, most postcards, rip business cards, stickers, folded cards.
- 0.125" bleed: brochures, door hangers, flyers, folded hang tags, hang tags, notepads, roll labels, yard signs.
- 0.3" bleed: folders.
- 0.325" bleed: (2'' x 3.5'') business cards with round corners. Postcards with round corners in the following sizes: 4'' x 6'', 5.5'' x 8.5'', 4.25'' x 5.5'', 5'' x 7''. All special shapes.
Image Area is the area of the artwork that will appear on the final print.